
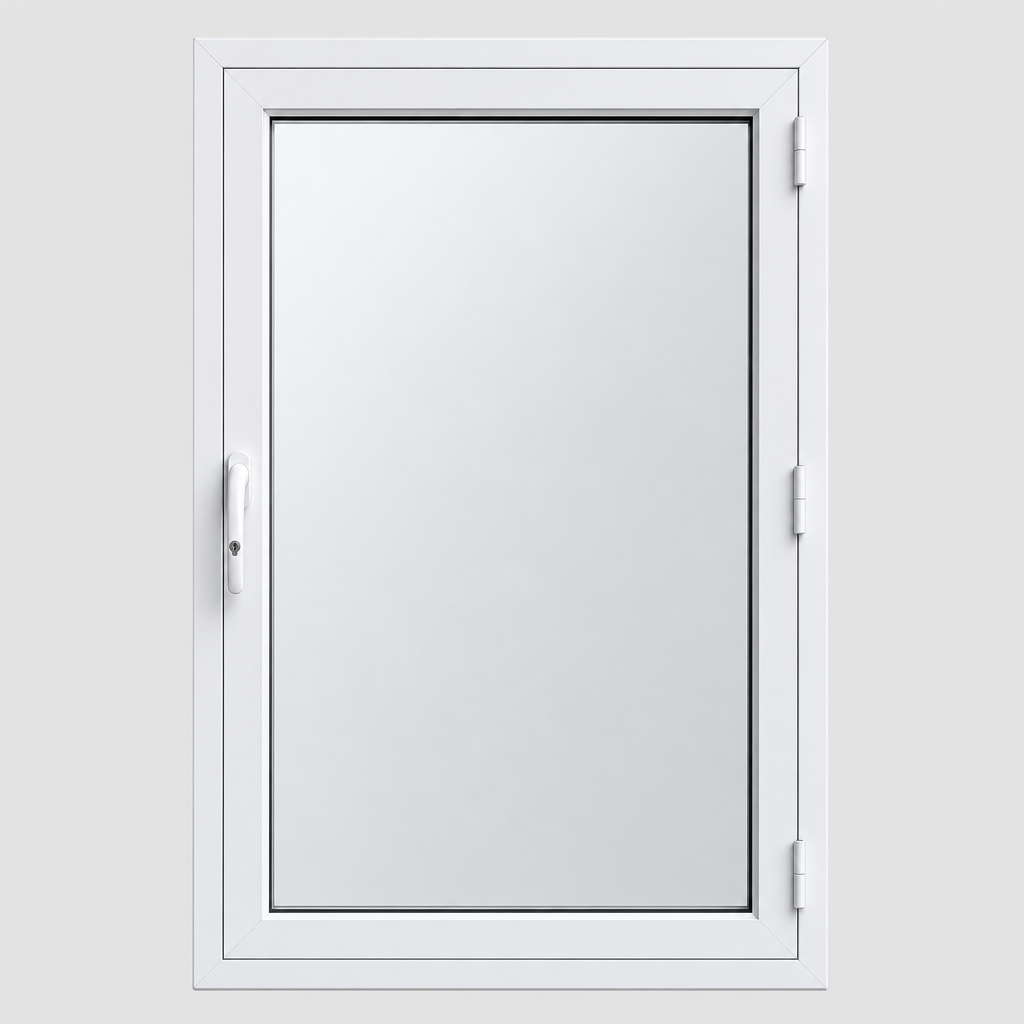
Box Sash Cavity Depth and Shutter Clearance
Cavity depth is the most valuable acoustic variable you have, and in a box sash reveal it is also the most contested space. Shutters, sash handles, cords, pipework and moulded architraves all want the same few centimetres. Here is how the geometry usually resolves.
How much depth you actually need
For draught proofing and condensation control, anything from 30mm upwards works. For thermal performance, gains flatten out beyond roughly 100mm. For acoustic performance, more is genuinely better up to around 200mm, after which returns diminish and the frame starts to intrude into the room. A practical target in most box sash reveals is 100mm to 150mm.
- 30mm to 50mm: draughts and condensation
- 50mm to 100mm: good thermal performance
- 100mm to 200mm: the acoustic range
Measuring the real reveal
The usable depth is not the depth of the reveal, it is the depth from the inner face of the original glass to the point where the new frame can sit without fouling anything. Deduct for sash furniture projecting into the room, staff bead thickness, any secondary catch or stay, and any shutter leaf that has to fold. That deduction is often 40mm or more, which is why an apparently deep reveal can yield a disappointing cavity if nobody checks.
Where a subframe helps
Where the reveal is too shallow, a timber or aluminium subframe brings the secondary frame forward into the room to gain depth. It costs a little more, it is normally finished to match the joinery, and it is invisible once decorated. On acoustic jobs it is frequently the difference between a system that meets expectations and one that does not, so it is worth understanding rather than value engineering away.
Working with original shutters
Panelled shutters that still fold into their boxes are a valued feature and owners rarely want them disabled. The usual solution is to set the secondary frame inboard of the shutter fold line, using a subframe if needed, so the shutters continue to work in front of nothing but their own box. Where the shutters are already painted shut and are not going to be used, the frame can sit further back for a deeper cavity, but that should be an explicit decision, not an assumption.
Pipework, cills and window seats
Heating pipes running along a bay cill, a projecting stone or timber cill, and fitted window seats all constrain where the frame can land. A frame can be stepped or notched around most obstructions, but it must still seal continuously, which is a detailing question rather than an off the shelf one. Photograph the reveal from three angles before you request a quote and it saves a visit.
Keeping the cavity clear
Whatever depth you achieve, protect it. Blinds mounted inside the cavity, shelves across the reveal, radiators pushed up against the frame and stored objects on the cill all reduce the effective air space and can obstruct the sashes. The cavity should stay an empty, cleanable air gap.
Fixings and reversibility
Fixings should land in the lining, reveal or architrave, never in the original sashes or the sash box front where they might foul the cords. Done properly, removing the system later leaves screw holes in secondary joinery only, which is precisely what conservation officers and listed building caseworkers want to hear.
Frequently asked questions
You will still get draught proofing and a thermal benefit. For acoustic performance we would recommend a subframe to gain depth.
Ready for a free, no-obligation quote?
South Yorkshire's specialists in secondary glazing — survey, measure, manufacture and install.